(469) 436-6127


https://ai.dtfcenter.com/mcp
Requires Claude Pro, Team or Enterprise.
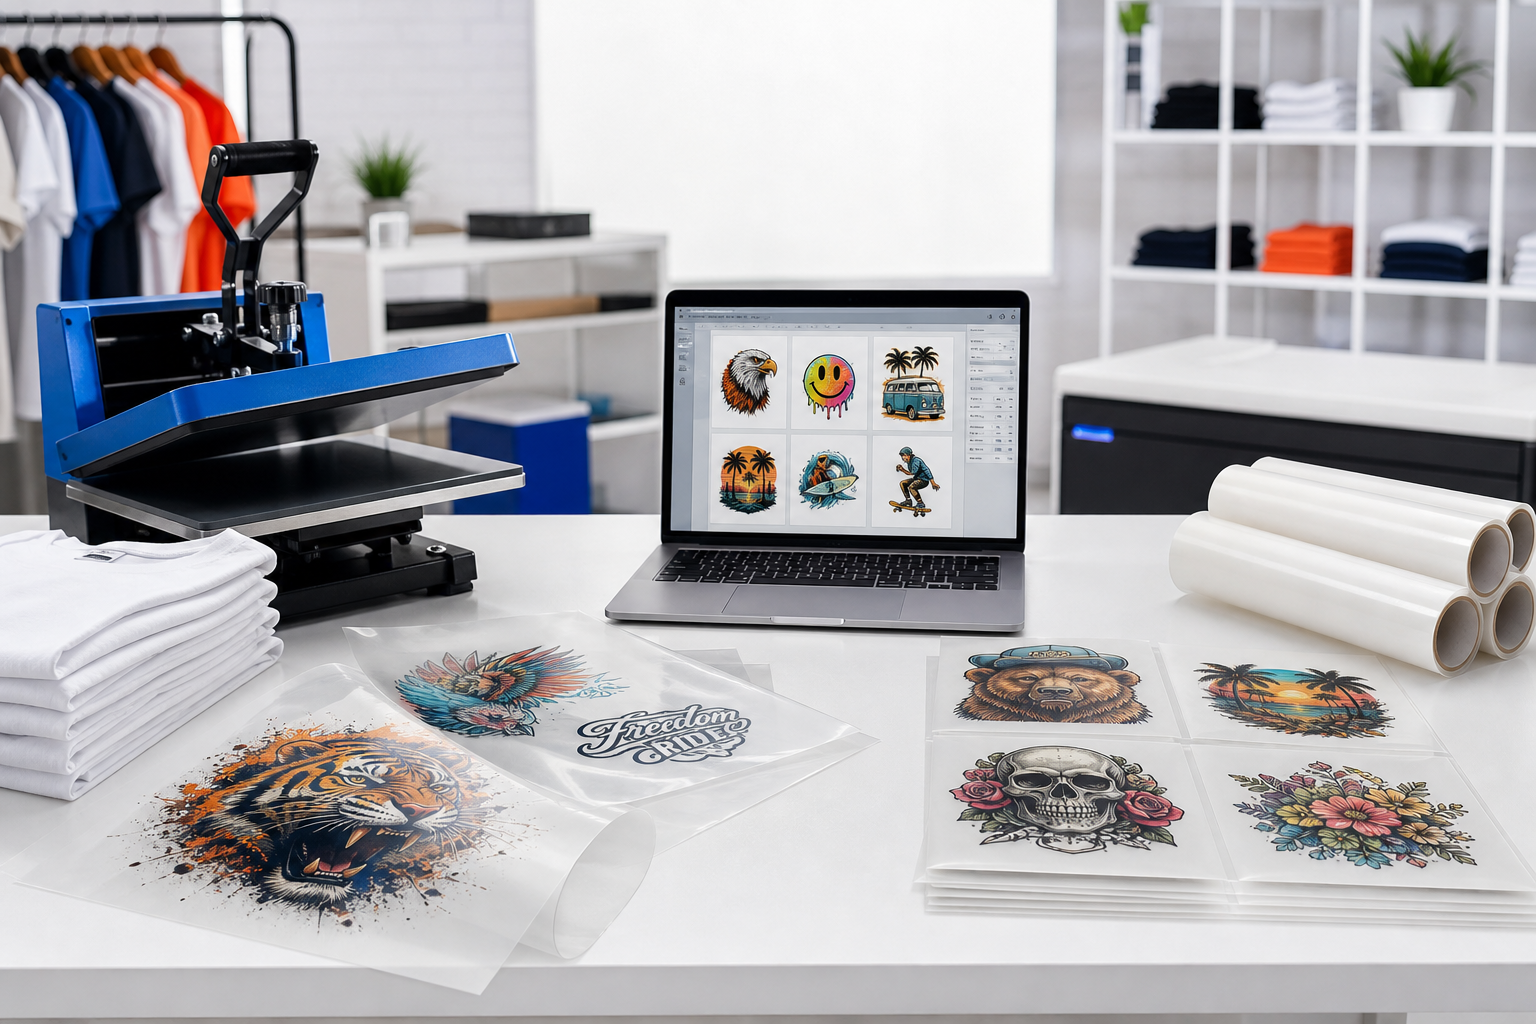
DTF Center prints custom DTF transfers by size, ready‑to‑press gang sheets and UV DTF stickers using state‑of‑the‑art printers. Enjoy same‑day shipping nationwide with no minimums or setup fees. Our durable transfers boast vibrant colors and 50+ wash durability. Order before 2 PM CST and your order ships today!

Shop our themed collections of ready‑to‑press DTF transfers — Halloween, Thanksgiving, Christmas and more — printed on durable film and shipped same day.


Upload Your Design & Place Order – Choose your transfer size or build a gang sheet

We Print & Ship Same Day – High‑quality DTF transfers leave our facility within hours.

Press & Peel – Apply your transfer at 320 °F (160 °C) with medium pressure; peel for vibrant, durable results


From hobby crafters to apparel brands, customers rate DTF Center 4.9/5 for print quality, speed and service. See what they’re saying!
This DTF printing store excels in fast turnaround times (often same-day or next-day), exceptional customer service, and high-quality vibrant prints. Customers praise the helpful staff, affordable pricing, quick shipping, and the convenient free in-store heat p...
Explore our blog for tutorials, tips and inspiration on custom DTF printing, heat‑press techniques and starting a T‑shirt business.
A simple guide to choosing between DTF transfers by size, uploading a ready gang sheet, or using DTF Center's online gang sheet builder.

Choosing the right printing method can be crucial for your business. This guide provides a detailed comparison of DTF transfer and sublimation, covering everything from print quality to cost-effectiveness, helping you make an informed decision.
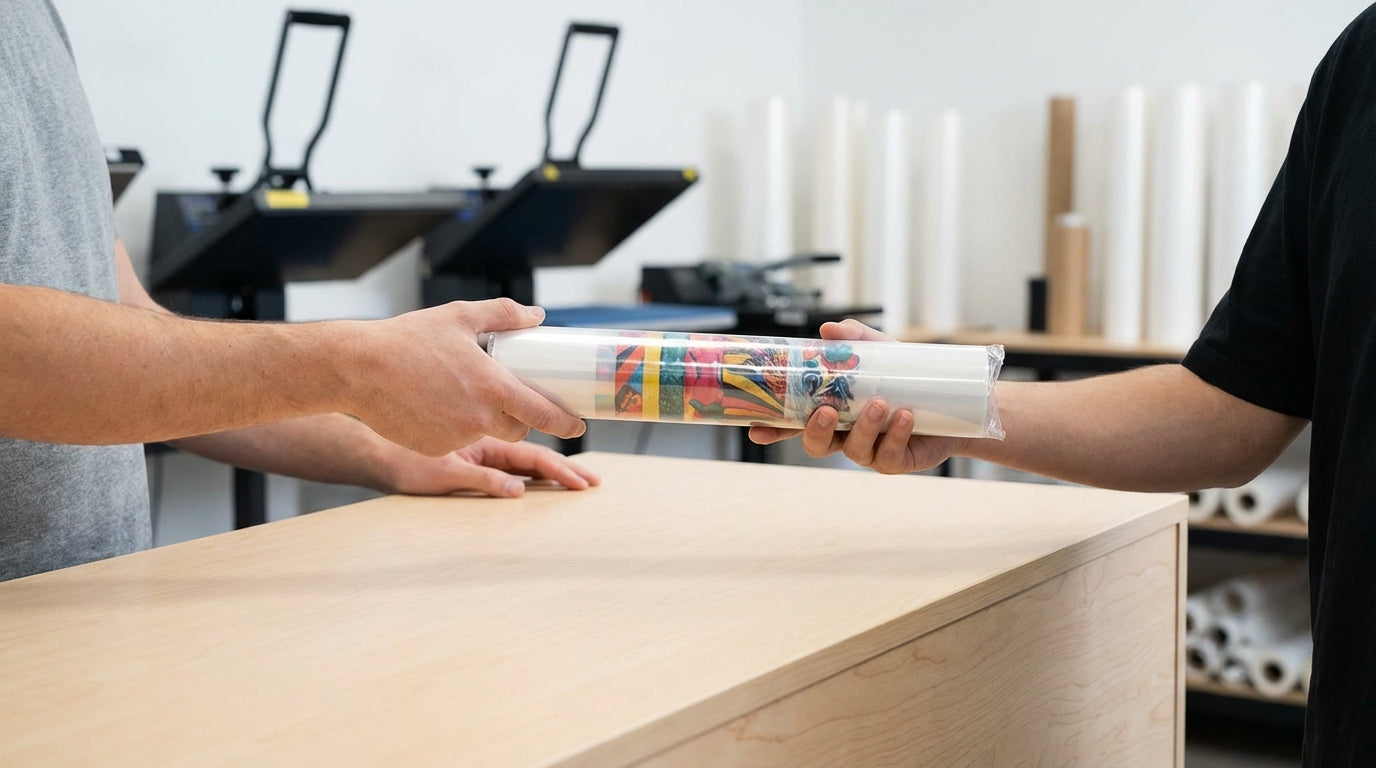
Discover the convenience and speed of local DTF transfer pickup for your direct-to-film (DTF) transfer needs. This guide explores the benefits, process, and how to find the best local options for fast, high-quality prints.
START YOUR DTF ORDER


Why DTF Center
• No Setup Fee
• Same-Day Shipping
• Bulk Volume Discounts
• 100% Customer Satisfaction Guarantee
• B2B Plans
• Best Prices Guaranteed
This DTF printing store excels in fast turnaround times (often same-day or next-day), exceptional customer service, and high-quality vibrant prints. Customers praise the helpful staff, affordable pricing, quick shipping, and the convenient free in-store heat p...
A simple guide to choosing between DTF transfers by size, uploading a ready gang sheet, or using DTF Center's online gang sheet builder.
